


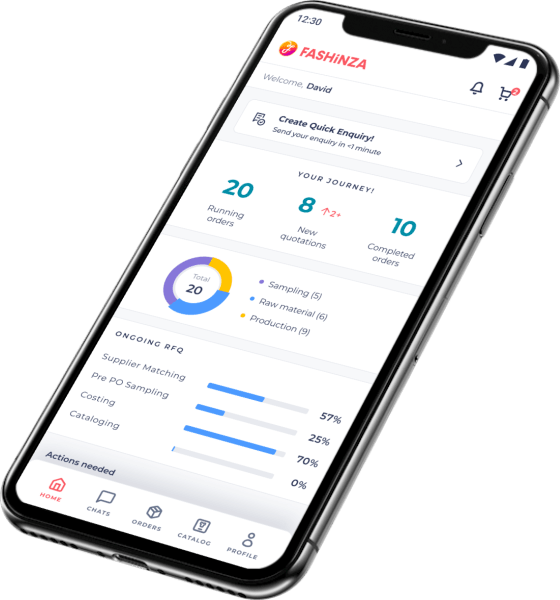
Revolutionizing Fashion Business
Get Future-Ready with Fashinza's Customizable Collection and AI-Powered Analysis for Faster Turnaround Time.


Categories


A One Stop Platform From Design To Delivery
We provide real-time tracking and updates through our state-of-the-art technology platform.
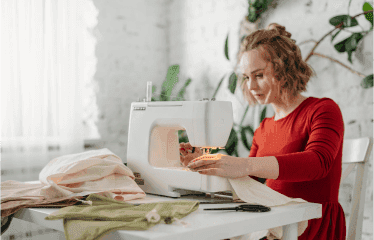
Product Design
Designing products, fabric research and market analysis
Production Management
Tech enabled platform to help your products to life
Account Management
An experienced partner to help you every step of the way
QC and Delivery
Track shipment easily, and get your orders delivered quickly.


Never Miss a beat!
Get weekly email updates on fashion tech,
sustainability and innovation.
I want the latest in
Name*
Email*
What our partners say about us

‘Very clear when it came to tracking the order’s progress’
Fashinza’s platform was very clear when it came to tracking the order’s progress. It was convenient as anytime I could check the current progress of the order. All my questions were answered professionally and in a timely manner by customer support. The shipment of samples I received was much appreciated and alleviated any worries regarding the quality of the finished goods!
Kristina Garrison,
Head of Purchasing

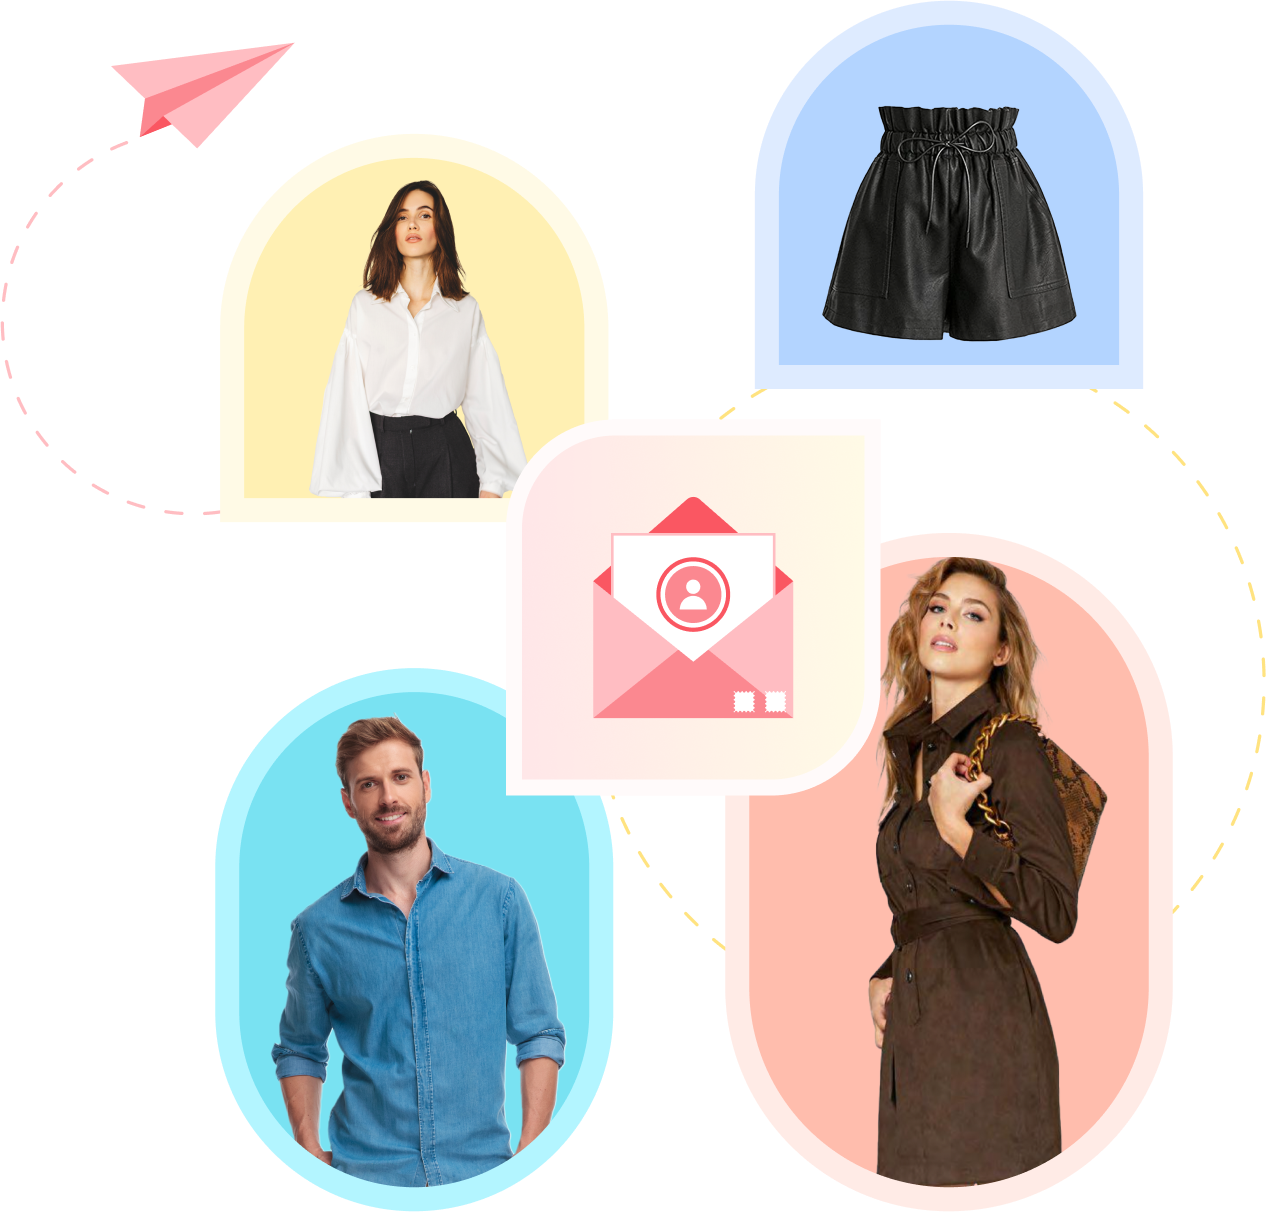
Your Brand, but Better!
With the Flexibility to customize your own collection by choosing your own choice of fabric, color, and design, We provide you with precisely what you ask for. With a Fast turnaround time of as low as 45 days, you'll have your own collection in no time!
Your Encyclopedia for Brands!
With one of a kind trend-predicting algorithm, we keep things fashionable and in trend. We provide our clients with insights into future trends so they are future-ready.
With the intelligent AI-powered in-depth analysis, you get the best of the best even for the bulkiest of orders.
Budding Brands
Even if you are just starting out, or want to start a brand that speaks your vision, Fashinza can help you from design to delivery by being transparent in each step involved in the apparel manufacturing. Start your Brand today!
Dynamic Catalog with Ever-Changing Designs to Keep Up with Latest Trends
The world of retail is constantly evolving, and it can be hard to keep up with the latest trends and brands. From Fashion to home goods to technology, there are countless options to choose from.
Fashinza’s catalog is constantly updated and changed. As the trends change, so do the designs in our catalog.


