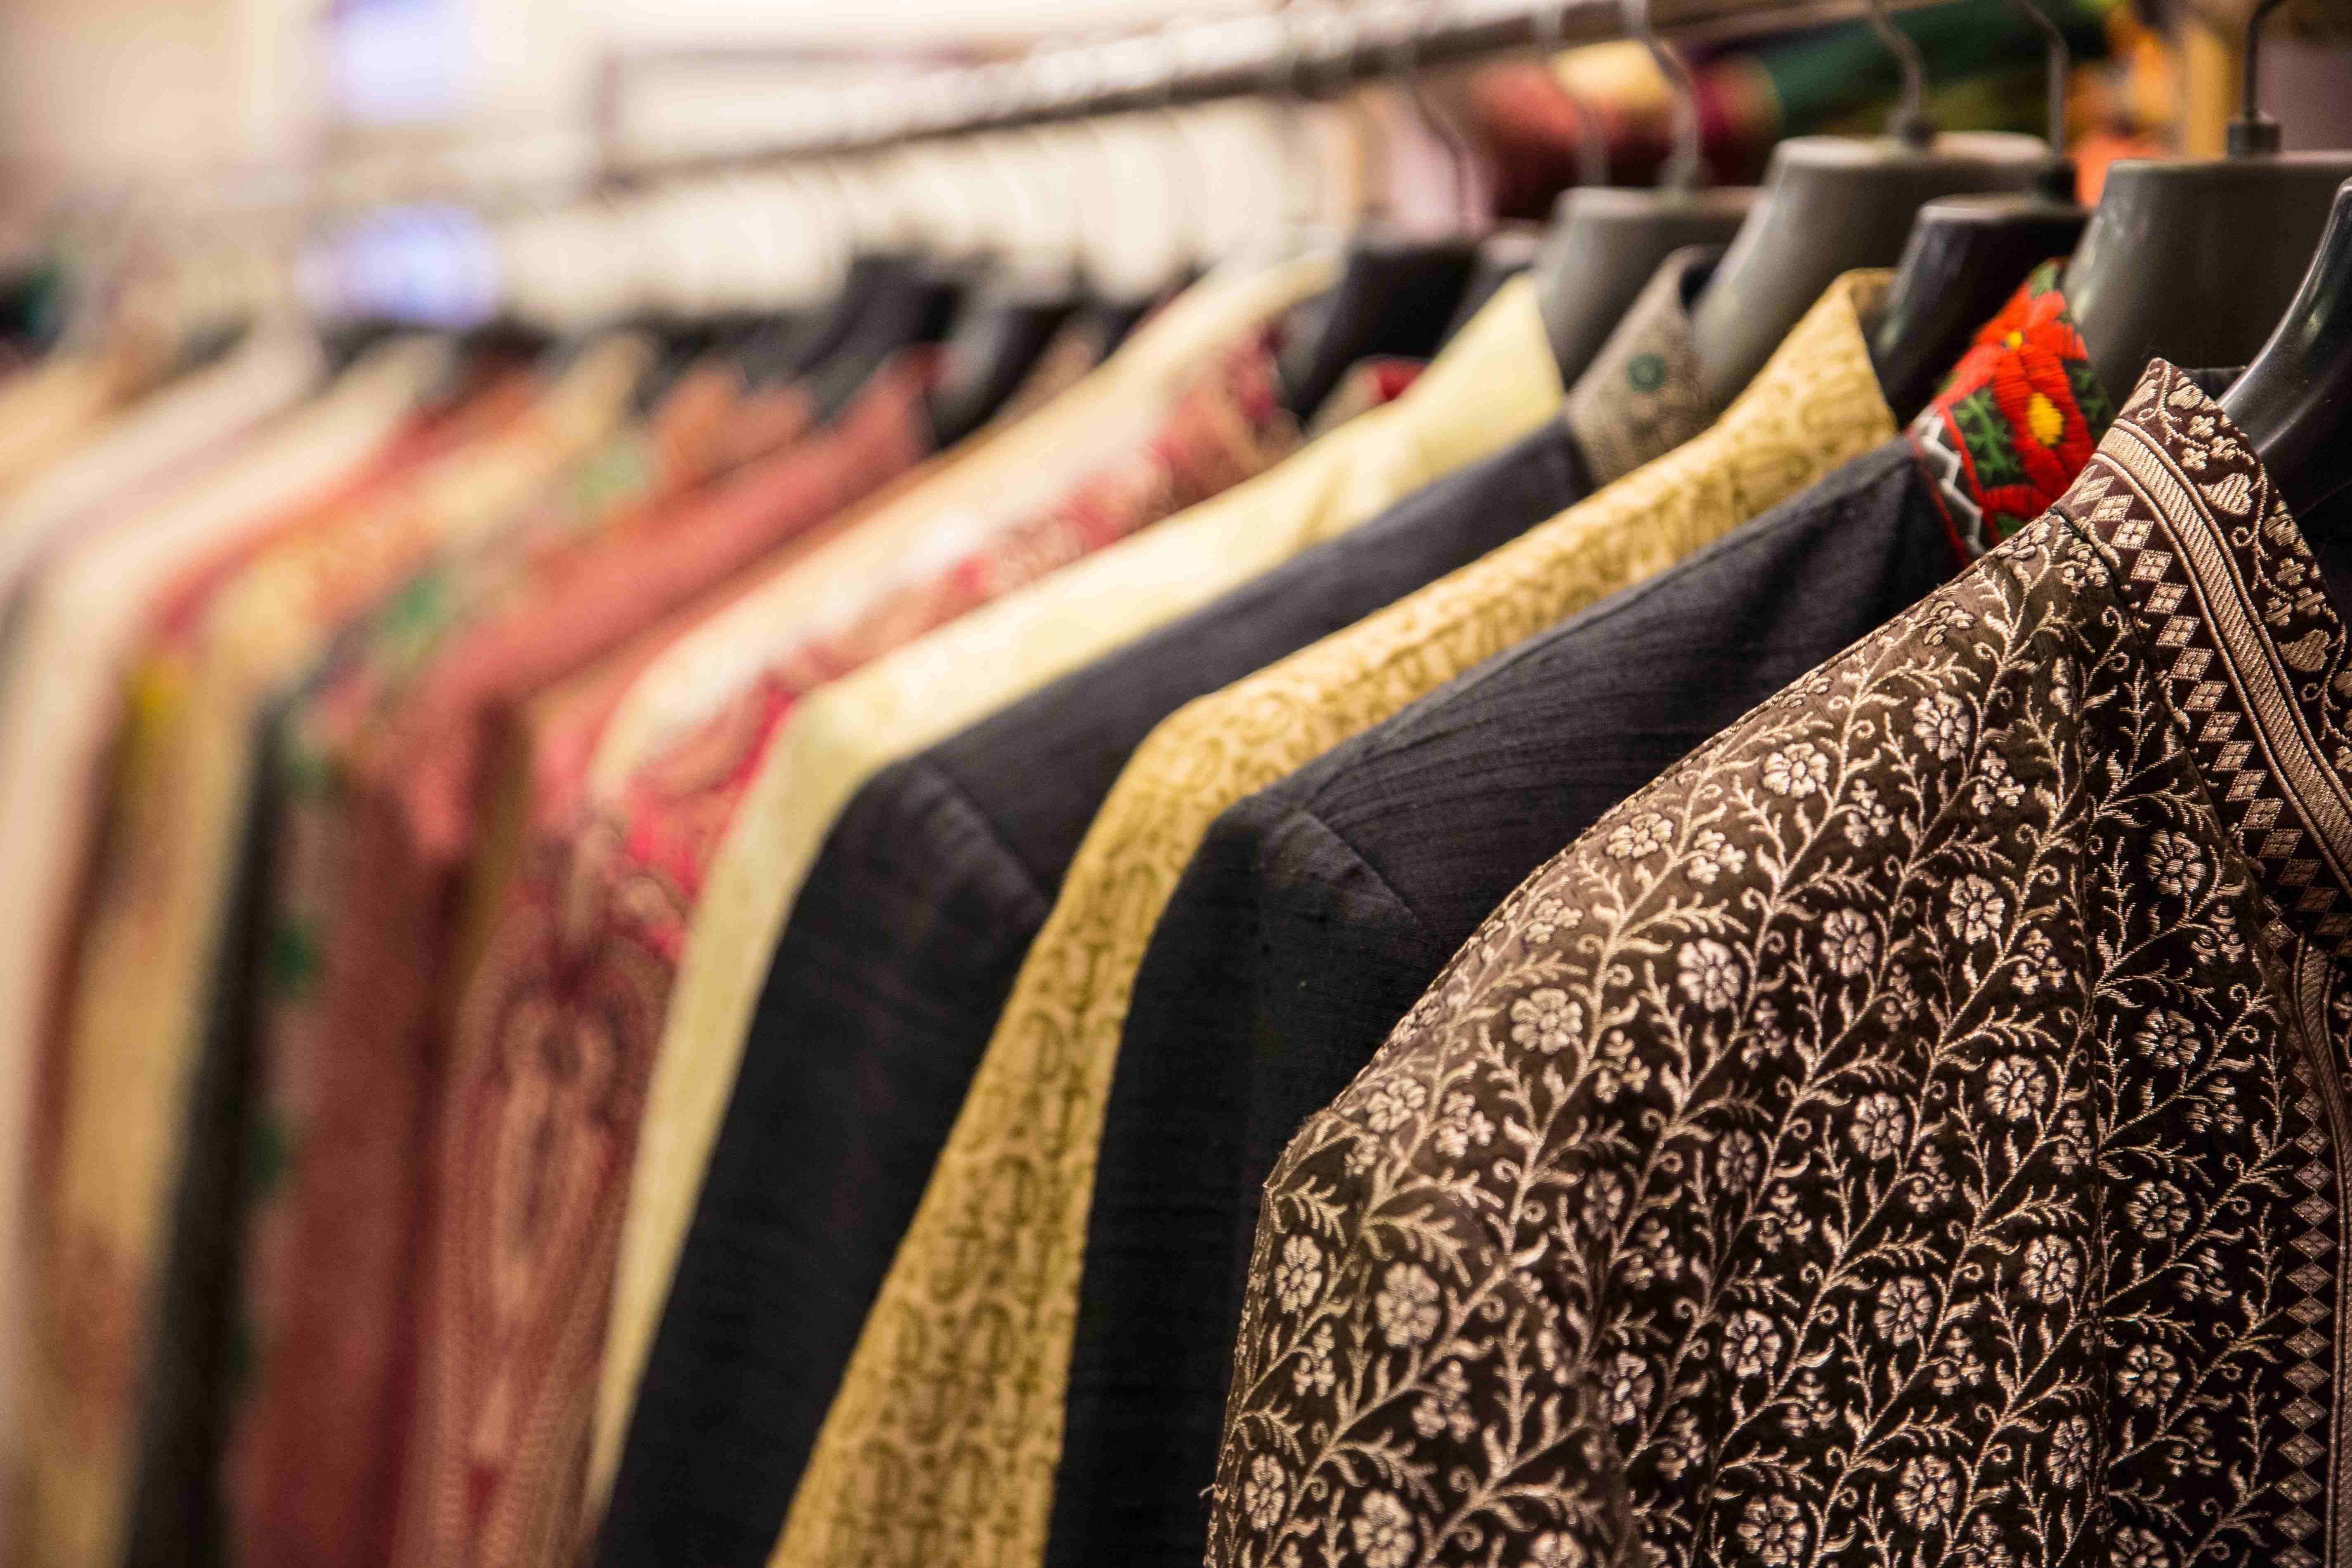
Lab-Dip Approval For Dyeing And It's Purposes

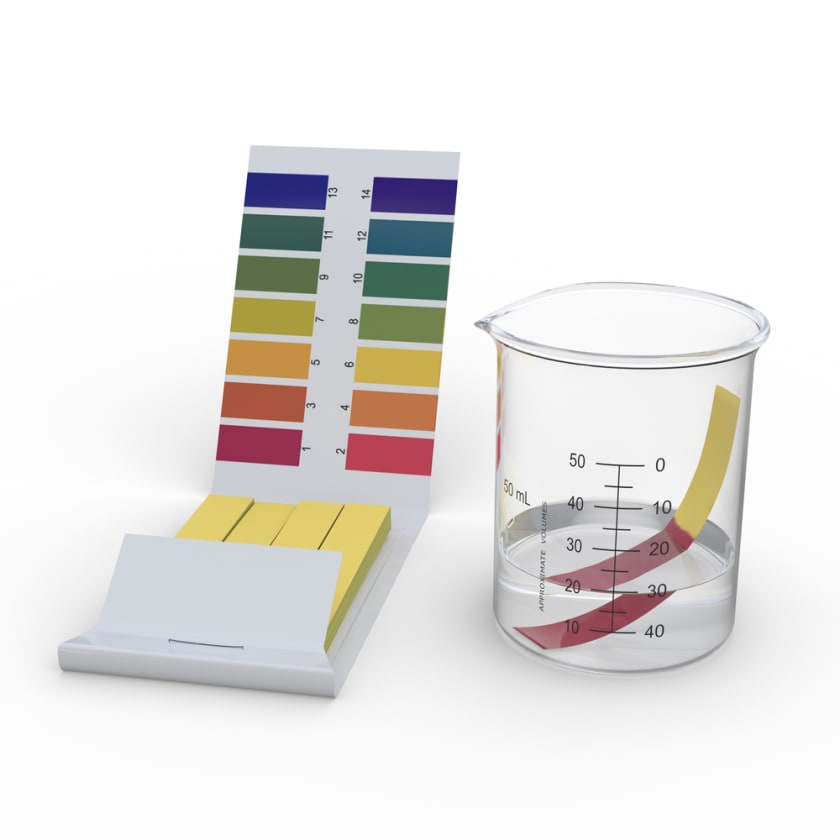

A lab dip refers to a dyed fabric sample that is generally developed by a dye house or a colour lab. A standard process in apparel sourcing, it ensures that the colour standards of a designer are met. In fact, the primary purpose of lab dip dyeing is to give the designer an idea of how the fabric colour will look like, before manufacturing. Hence it is an extremely crucial process that precedes bulk manufacturing.
Methods of Lab Dip Shade Matching
Labs employ a wide range of methods for lab dip, including the following:
1. Sunlight matching
2. Tube light matching
3. Ultraviolet matching
4. Sodium light matching
The results you get will differ from one method to another. Generally, the lab dip process takes up to a few days or up to two weeks. It depends upon a variety of factors such as the availability of dye stuffs, difficulty level of the colour in terms of matching, and the lab’s schedule. To delve deeper into the process, a cotton dip can take up to six hours, while polyester or polyester blends might need around twelve hours. The dipping process is repeated until one arrives at the perfect colour match. You can then see how the colours look under different light settings, by checking the dyed samples in a lightbox.
Now let’s have a closer look at the steps involved in the Merchandising working procedures for lab dip approval from buyer-
1. First and foremost, the merchandiser receives the colour standard or sample standard from the buyer.
2. That standard is then analysed by the manufacturer for producing lab dips.
3. After that the manufacturer takes time to make lab dips.
4. Once the lab dips are ready, they are sent to the merchandiser.
5. Upon receiving, the merchandiser reviews and cross checks it.
6. It is then finally sent to the buyer.
7. The buyer shares his inputs/feedback after receiving the lab dip
8. If everything is ok, the buyer approves the lab dip.
9. The merchandiser then gears up for bulk production.
Purposes of Lab Dip:
Here are the key objectives of lab dip in textile industry-
1. It helps calculate the recipe for sample dyeing.
2. It ensures the availability of the lab dip development according to a buyer’s required shade or given swatch using available dyes, auxiliaries and fabrics.
3. It aids the comparison of the dyed sample with swatch by lightbox or Spectrophotometer.
4. It helps to calculate revise recipe for sample dyeing.
5. Finally approved Lab Dip (Grade: A, B, C and D)
6. Generating recipes according to buyer-approved shade with appropriate cost optimization and minimum deviation between lab and bulk dyeing.
7. Provide the buyer approved recipe to the dyeing section for proceeding to bulk dyeing.
Next, we will deep-dive into the purposes of lab-dip approval from the buyer’s as well as the fabric supplier/dyeing plant’s perspective:
1. From the buyer’s perspective
The lab dip is developed to make sure the design will be made exactly to match with the required colours. The designer needs to verify the appearance of the colour and shade before going for actual garment production. Normally, the supplier arranges the lab dip for the buyers. During lab dip submission, a couple of shade options are sent to the buyer for approval, so that he/she can see the right colour in the fabric substrate and choose the one that's closest to your colour standard.
A slight variation of shades in bulk fabric is quite likely, as compared to the colour standard or the approved fabric lab dip swatch. In such cases, suppliers need to take approval on all shades before using them for making garments.
2. From fabric supplier’s or fabric dyeing plant's perspective
Though they are skilled in producing any colour or shade, they need to show that they are dyeing the fabric in the desired shade. During the lab dip process, dyeing plants develop the dyeing recipe for the desired shades on the specific fabric.
Different types of dyes are used for different fabrics and different shade development. In this stage, the fabric dyeing unit is aware of the dye that will be used for the bulk production.
What to expect, when it comes to the process of lab-dip for approval?
Besides identifying potential issues, lab dip also reveals other aspects of a fabric sample. In order to get the closest representation of the fabric which will help you make an informed choice on whether you want to proceed with the design or not, you should ask for the following from the supplier:
ü When arranging the lab dip, you will provide the factory with a specific colour reference. The way colour is communicated varies between companies, factories and dye houses. Be it a 'Pantone' number or a swatch (small piece) of fabric, this will become your 'colour standard', which your lab dip will be DTM (dyed to match).
ü Use the actual fabric that will be used for the bulk order - there's no point getting a lab dip in a totally different fabric. Firstly, different fabrications dye differently, so if you see a sample in cotton and the order will be in polyester, the colours are bound to look different. The weave or knit of a fabric also plays a major role in the dying process and the appearance of the shading. Another point to be taken into consideration is whether your final fabric is sheer or semi-transparent and how this will affect the colour.
ü It is always a good idea to provide several samples. While catalogues are great, one needs to exert enough caution to ensure that all the lab dips are accurate, so that the photos from samples in the catalogue are no different from the final colours from the bulk orders. You can also consider getting a set of 3 lab dips from a supplier, from which you can take your pick.
What to look for on the lab dip?
· When you receive your lab dip, take a close look at it and compare it to your colour standard. Keep in mind that lab dips are usually tiny, around 2cm x 2cm (less than 1 inch). If you’re lucky, you might get a bigger sample, but generally they are very small, so you will have to look very minutely and thoroughly.
· Next, you should look at the lab dip in different lights, in different angles. Even try holding it up against yourself and looking at it in the mirror. In industry, what is commonly used for this is a 'light box', which control the 'type' of light being used. However, keep in mind, that these are pretty expensive, which explains that many small brands don’t consider these to be worth the investment.
· Assess whether you like the colours and whether the lab dip matches a fabric reference. Insiders of the textile industry are often over critical of colours and expect the closest match possible. If the colour differs, try to evaluate whether it will affect anything else in the range.
· Keep in mind that different fabrics dye differently, so colour variations across the same colour are quite likely. As we’ve just discussed, the point to factor in, is what the lab dip is for and what the fabric will be used for. If there are two different fabrics of the same colour on the same garment, it is important to look at this closely. Another point to keep in mind is the contrast between a shiny fabric and a non-shiny one. The way the light reflects off of the former will always make the colour appear different, hence they should be checked in different lights.
· The same colour can look great from one supplier, and awful from another, so never miss out on the details. Besides the colour, the saturation is one of the most important things to consider. The saturation indicates how well the colour has taken to the fabric, say in terms of whether the application is even, or if the base colour of the fabric is showing through, and so on. It is also important to check how the fabric feels to touch, as some dyes can alter the feel or in certain cases, even the performance of the fabric.


