How to Use French Curves - Types and Ways to Graph Them


What are French Curves?
The first and foremost learning for any artist, craftsman, or technician is to learn the tools of their trade. Ask any fashion designer, professional or hobbyist, and the one tool they certainly are familiar with is the French Curves. Also known as the Burmester Set after their inventor, Ludwig Burmester, these are the essentials in every designer’s toolkit.
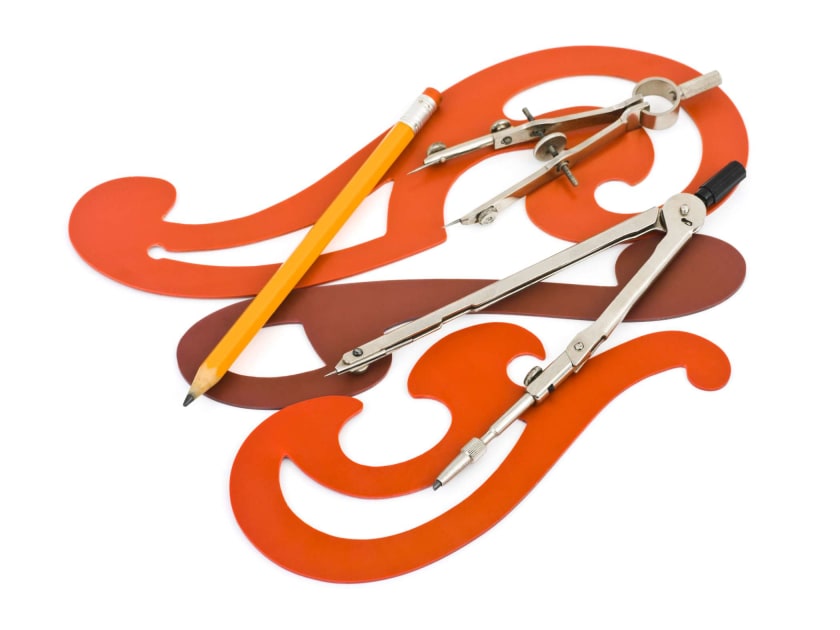
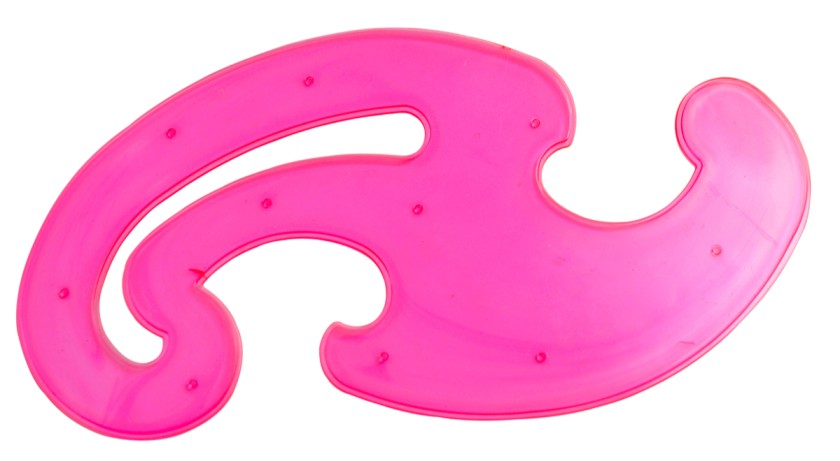
So, what are these magic tools, and why are they so important? The French curves are rulers or templates with edges having different types of spirals. They are also known as cloud templates by the Japanese due to their close resemblance to the different spiral shapes of a cloud. A French curve has multiple curve templates. A set of French Curves has these templates of different dimensions to assist the designers.
These tools have a wide variety of applications in drafting mechanical drawings and dressmaking because they help draw a smooth curve of any desired curvature. In the recent past, Computer Aided Design (CAD) has been extensively used in mechanical drawings. But the French curves remain relevant for designers and home stitchers. Their use in not just new design creation but also in fitting adjustments cannot be replaced so easily. They are used to sew or alter the neckline, the pockets, sleeves and armholes in any dress pattern, straightening the seam lines and blending.
Types of French Curves

As the nomenclature suggests, French Curves are not a single tool. Instead, they are a set of templates. Some of the common classifications of French Curves are based on
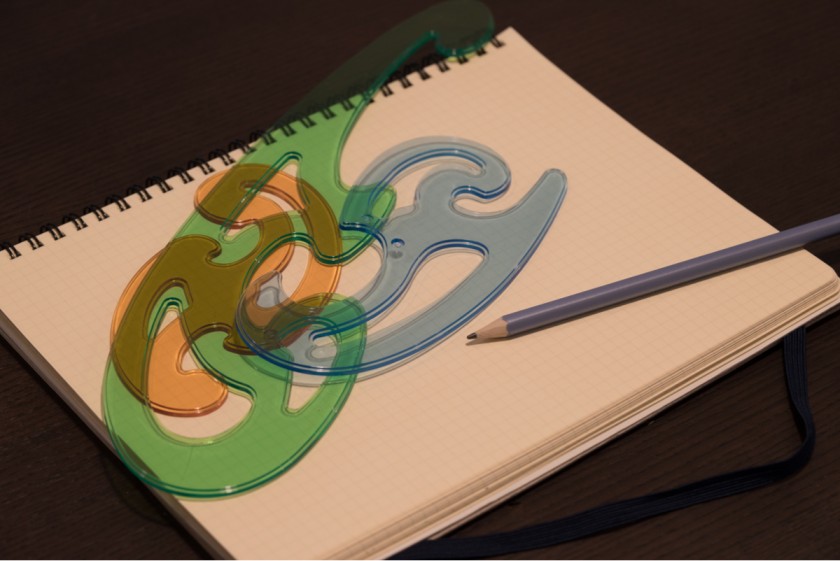
- Curvature – The first and most important type of classification of French Curves is based on the curvature they help in designing or adjusting. A typical set of 3 has three different templates to alter the shapes that resemble a hyperbola, a parabola, and an ellipse. There can be more than three French curves in a set, depending on the dimension of the curvature. This helps in sewing the pattern of the same area, for example – the neckline, for people of varied body shapes and sizes.
- Construction Material – Different materials can be used to make the French curves. Materials like wood, steel, acrylic, and plastic can easily be molded into curved shapes. Even expensive metals like brass can be used to make specially designed French curves. The factors that influence the choice of material include ease of molding, longevity through wear and tear, and ease of carrying.
How to use French Curves
Given the importance of using French curves in dress designing - pattern making and alterations – it is imperative that a fashion designer or a dressmaker knows how to use them correctly. The most common and basic way of working with them includes the following steps.
Creating a new pattern using French Curves
- Draw a rough outline of the curve that you want to design.
- Place the French Curves on this outline and mark dots along the shape to give it a proper definition. A single curve on the template may not be able to achieve the same. The different pieces in the set having different curvatures need to be used.
- Now, placing the relevant French curves along the marked points, join the dots with a marker. Ensure that the final marking is smooth and well connected.
- The pattern is ready to be cut. Verify the final marking once before beginning the cutting process.
Pattern Alteration using French Curves

Apart from creating new designs using the French Curves, they can also be used to alter existing designs, ensuring a better fit or addition of new design patterns. Some of the common methods used when altering an existing pattern include:
- Lowering the bust point of a completely stitched dress. During the cutting process of the original garment, the side-seam tends to become uneven. This problem can easily be addressed with the help of the ruler on the French Curves. Using the ruler, a shapelier and well-defined line can be drawn to assist in the final cutting.
- Want to add an extra width in a pattern? Yes, the slash and spread method is the way to go. But how do you ensure the outer edge is smooth? With the help of the French curves, of course! Place the long, curved edge along the outer edge and mark out the pattern carefully, ensuring a smooth line.
- Another common alteration – lowering of the neckline – can easily be achieved with the help of the French Curves. Make the markings from the desired depth with the help of the curved edge, ensuring that it is marked up to the original shoulder cutting line. This is important to retain the original measurements and get the new pattern.
Conclusion
While in mechanical drawings French Curves are being extensively replaced by CAD, that doesn’t seem to be the case when it comes to dress making. The convenience of using the lightweight instruments, getting the exact shape directly on the actual material and the flexibility to use the French curves makes them a favorite of dressmakers everywhere. Find out more, only on Fashinza.


