Master Course on Fashion Illustration for Casual Wear: With Examples and Techniques

Every design starts with a rough drawing. A fashion sketch is the first stage in bringing your fashion ideas to life as a design blueprint. Its main goal is to explain to the audience your design and all of its technical characteristics, such as garment length and fit.
Fashion illustrations are more detailed than flat drawings because they include color, texture, shading, and movement lines. A fashion illustration for casual wear has basic poses. In these illustrations, the texture is critical to getting the message across. Fashion illustration is the process of visualizing a garment before it is manufactured by drawing, sketching, or painting fashion concepts and design ideas. They have a distinct style.
Techniques in fashion illustration
For fabric draping, fashion drawings can also be three-dimensional fashion figures with texture, shading, and movement lines.
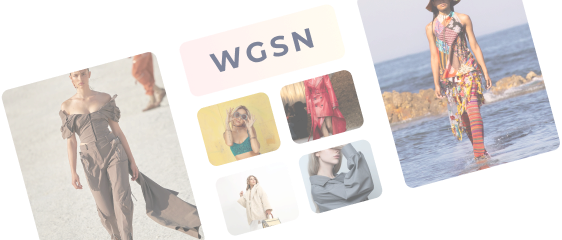
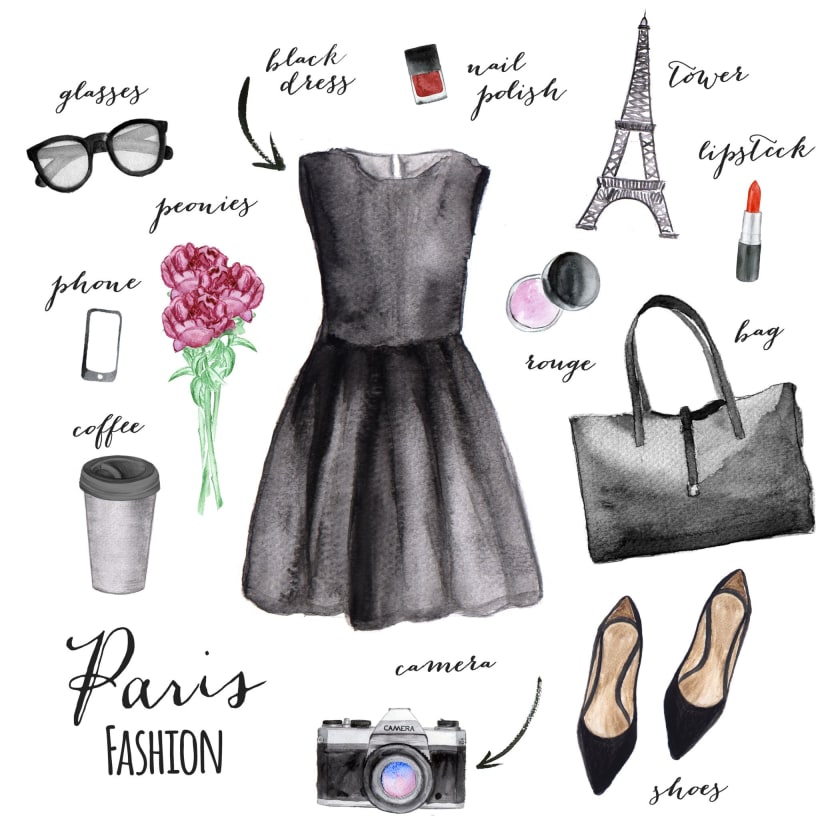
Illustrations assist pattern makers in communicating technical aspects of a design, such as length and fit. Fashion sketches can also be created as a mood board, displaying a design's emotional language.
Fashion designers might utilize several types of mediums for sketching to show their unique style through drawings. The usage of pencil and crayon by fashion designer Karl Lagerfeld, for example, distinguishes his fashion sketches. Dolce & Gabbana's atelier incorporates decorative details into fashion drawings, such as individual sequins on clothing.
A fashion model's physical proportions are not comparable to the human body. In general, a fashion figure follows the industry norm of "nine head" length, which indicates that the figure's length is around nine times the size of the drawing's head. These extended fashion figures aid in the display of apparel, especially dresses and skirts. For casual wear sketches, the nine head method allows the designer to visualize patterns easily.
Fashion illustration: Step by step guide

In this article, we will discuss how fashion illustration for casual wear works. The figure itself is constant among most fashion genres, but movement may vary from couture to casual.
Step 1
Draw a vertical line across the paper's center. This line, which runs from the top of the head to the bottom of the feet, will serve as the fashion figure's center of gravity.
Step 2
Make nine equal sections on the paper. The head, bust, waist, hips, thighs, calves, knees, ankles, and feet of the form are the divisions you are looking for. To divide the nine portions, draw horizontal lines that are about an inch and a half apart.
Step 3
Make a drawing of the pelvic area. Sketch a square for the figure's pelvis in the middle of the balance line. This line can be angled in a variety of different directions to achieve various positions. For a casual wear sketch, a simple pose is ideal.
Step 4
Draw the shoulders and torso. To make the torso, draw two lines going up from the top of the pelvic square. The waist is defined by the inner and outward curves of the lines. The shoulders and pelvis should have the same breadth, although the shoulder lines can be slanted to create a rounded forward position.
Step 5
Make a drawing of the neck and head. The neck should be one-third the width of the shoulder and half the head's length. In proportion to the body, draw a circle for the head.
Step 6
The legs of the figure should be about four times the length of the head shown. The thighs and calves are divided into two parts on the legs. The length of the tops of the thighs should be the same as the length of the head. The line should be tapered down to the knee, then down to the ankle, so that the ankles are about one-fourth the size of the head.
Step 7
Draw the arms outwards. Create the arms by drawing tapered lines from the elbow to the wrist. The arms can be put on the hips or beside the torso of the figure. Last but not least, the hands and fingers.
Step 8
Draw the feet now. The length of the feet should be about the same as the length of the head.
Make a fashion design of your own. After you've sketched out the fashion figure, you can start layering your design works on top of it.
Step 9
Make a drawing of your design. To display the movement of the fabric or to highlight where the material gathers on the garment, shade the design. To give dimension to the fashion drawing, color it in. To show off your flair, add embellishments to the fabric.
When working with casual wear sketches, there has to focus on bold colors and monochromatic shades. You can upscale a look with accessories or dress down with more flowy silhouettes.
To finish the look, add face details or a hairstyle.
Common mistakes made while illustrating
Illustrations, though artistic, are quite technical. They require precision and forethought. We have listed some mistakes you can avoid.
1. Singular Lines
Fashion illustrations cannot be too structured or clean. It takes away from the movement of the clothing. Begin with a light pencil sketch. If you believe your illustration lacks contrast or definition after you've finished rendering it, a black outline isn't going to help. Add a shadow form if you wish to make a stronger distinction between two objects. Shadow is virtually never a thin line, and even when it is, it seldom appears to be one.
2. Anatomically incorrect
This is most commonly seen on the collar bones, abs (always), nose line, lips, and eyes. Illustrations do not have to be anatomically accurate. Try to practice with the nine head model. Start with basic poses.
3. Accouterments
When adding details to your casual wear sketches, remember how the garment looks under different lighting. Casual wear doesn’t always have heavy embellishments, but you will see various draping and movements. Be mindful of the different mediums you are using and how they translate in real life.
4. Fitting
When working on a loose-fit piece, illustrations look bulky. In the case of casual wear, it is supposed to feel light and come with a degree of dexterity. If you're new to illustrating, start with clothes rather than the sketched form.
5. Lack of planning
If you start designing without a mood board or a simple sketch, you might run into some patchy ideas. It is good to have some idea of how the outfit will look before you start working on an illustration. Get ideas for material and color, too, if you have a theme in mind.
Wrapping Up
When designing a clothing line, there needs to be a cohesive element tying everything together. Whether it be color, texture, or cut, your illustrations will help clean up your thoughts before moving on to production. Fashion illustration for casual wear will be able to elevate your design and give it a high-end look that appeals to both worlds, streetwear and couture.
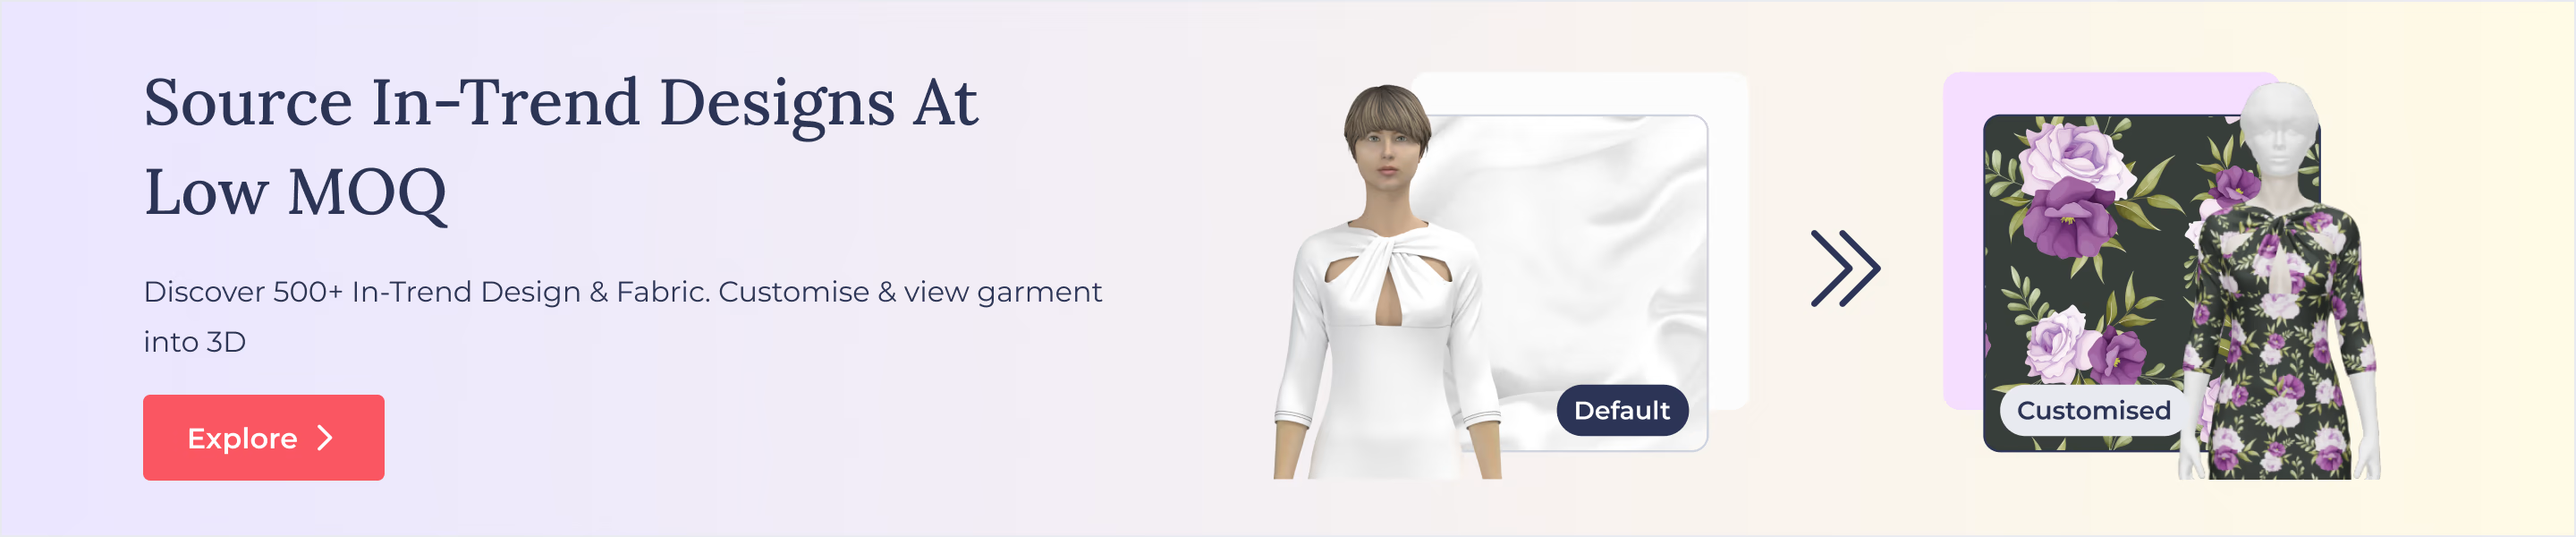
A fashion illustration is a more detailed sort of fashion drawing that may incorporate color and accessories and a detailed face or haircut to portray a complete outfit. Designing, sketching, choosing fabrics, sewing, etc., can be a lot for one person. Running a business isn’t easy and can suck the creative energy out of you. Fashinza helps you source material by connecting you with suppliers. This clears up time in your agenda to brainstorm more stunning ideas. Connect with us to get the best materials for your designs.
Share this Story