A Guide To The Types Of Tie-Dyeing

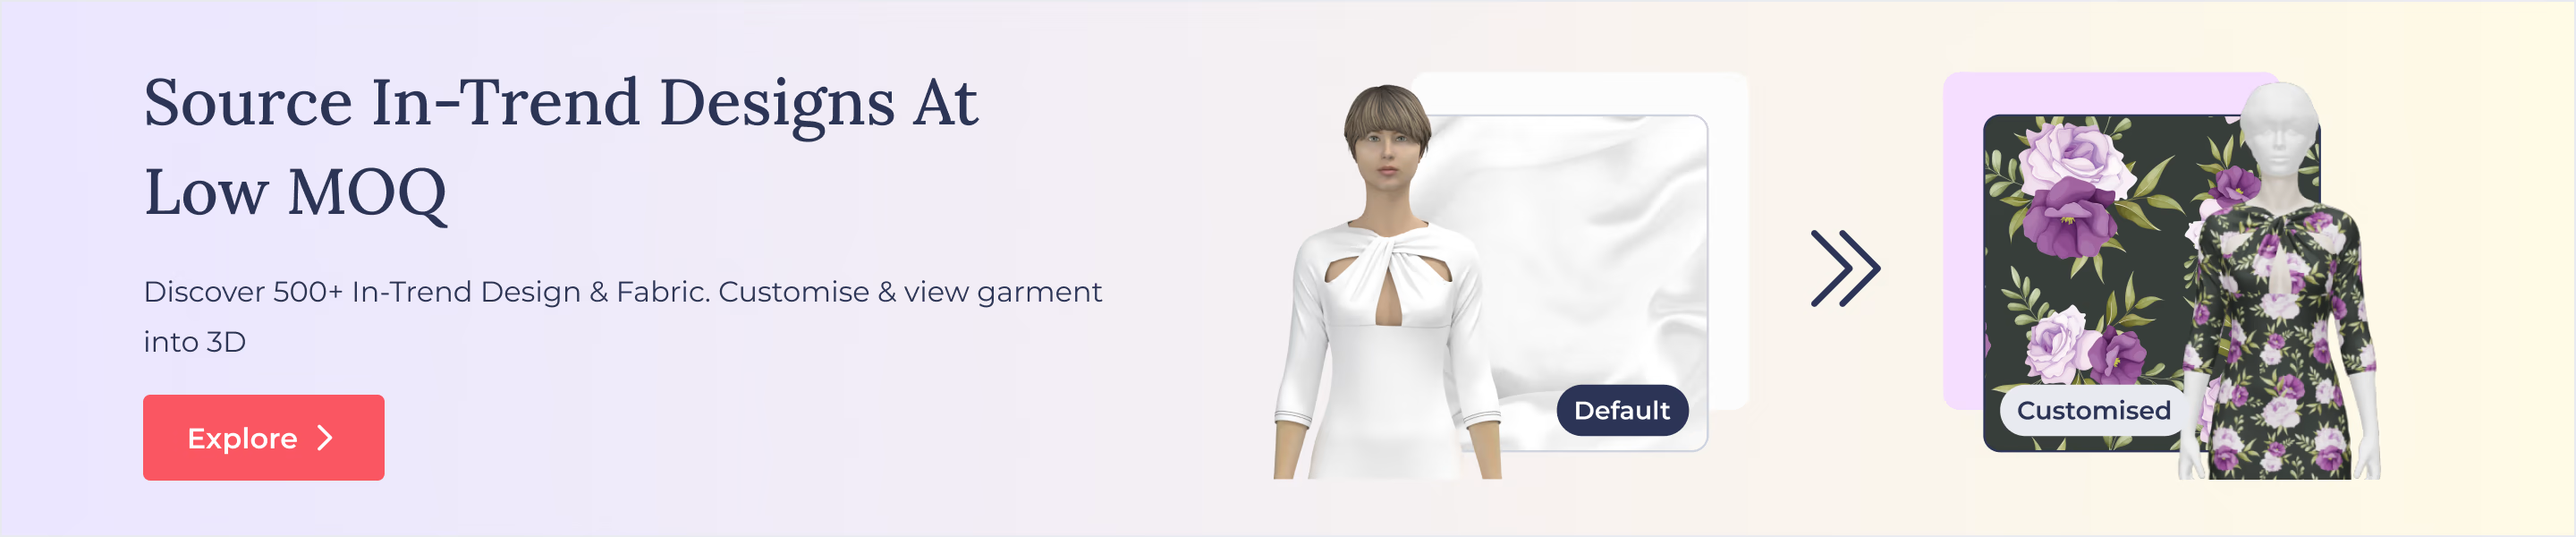
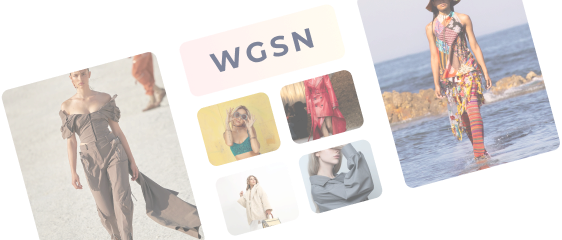
Fashion is a kind of storytelling through clothing, where people can express their creativity. Fashion is also about taking inspiration from the past. And the latest apparel trend indicates a significant throwback – Tie-Dyeing.
From Hollywood celebrities like Jennifer Lopez, Nicki Minaj, and Kendall Jenner to famous B-town celebrities like Alia Bhatt and Katrina Kaif – everyone has been rocking this style inspiration from the '90s! But did you know, traces of the technique date back to the 5th Century AD? When scholars studied the murals of Ajanta caves, they found subjects adorning fabrics treated with the tie-dye technique!
This fabric-dyeing technique came into popularity in the 90s due to its bold, colourful statements and saturated patterns. This feel-good craft never goes out of style. After all, tie-dyeing techniques have always been easy to do, inexpensive, and versatile.
About Tie-Dye
Tie-dye is a self-explanatory term as all you need to do to tie and dye the fabric. There are myriad options to experiment with different patterns by connecting the fabric in different ways. The remaining part of the fabric that does not get dyed creates different patterns and designs.
Anyone can create beautiful and intricate patterns and designs with minimal effort in this inexpensive and straightforward dyeing technique. Currently, this age-old art has seen a resurgence, even in more extensive forms.
Basics of Tie-Dye for Beginners
Before knowing the types of tie-dyeing techniques in-depth, here is a simple step of the basics of tie-dye for beginners.
- Set up a designated work area along with all the supplies (mentioned below).
- Pre-soak the cloth in soda ash solution, if needed.
- Blend the dyes of your chosen colours.
- Fold the tie the cloth according to your style or technique (discussed below).
- Soak the cloth in the dye.
- Let the dye spread adequately.
- Now, rinse, and wash. Let the cloth dry.
- Your clothes are ready to wear!
Essential Supplies for Tie-Dye

The tie-dyeing technique can be applied to any dyeing material. Still, only superior quality supplies can distinguish between a bright, intriguing product and an uninspiring, bland product that loses its colour after the first wash in the laundry.
Here are some excellent quality tie-dye supplies –
- Things to Dye
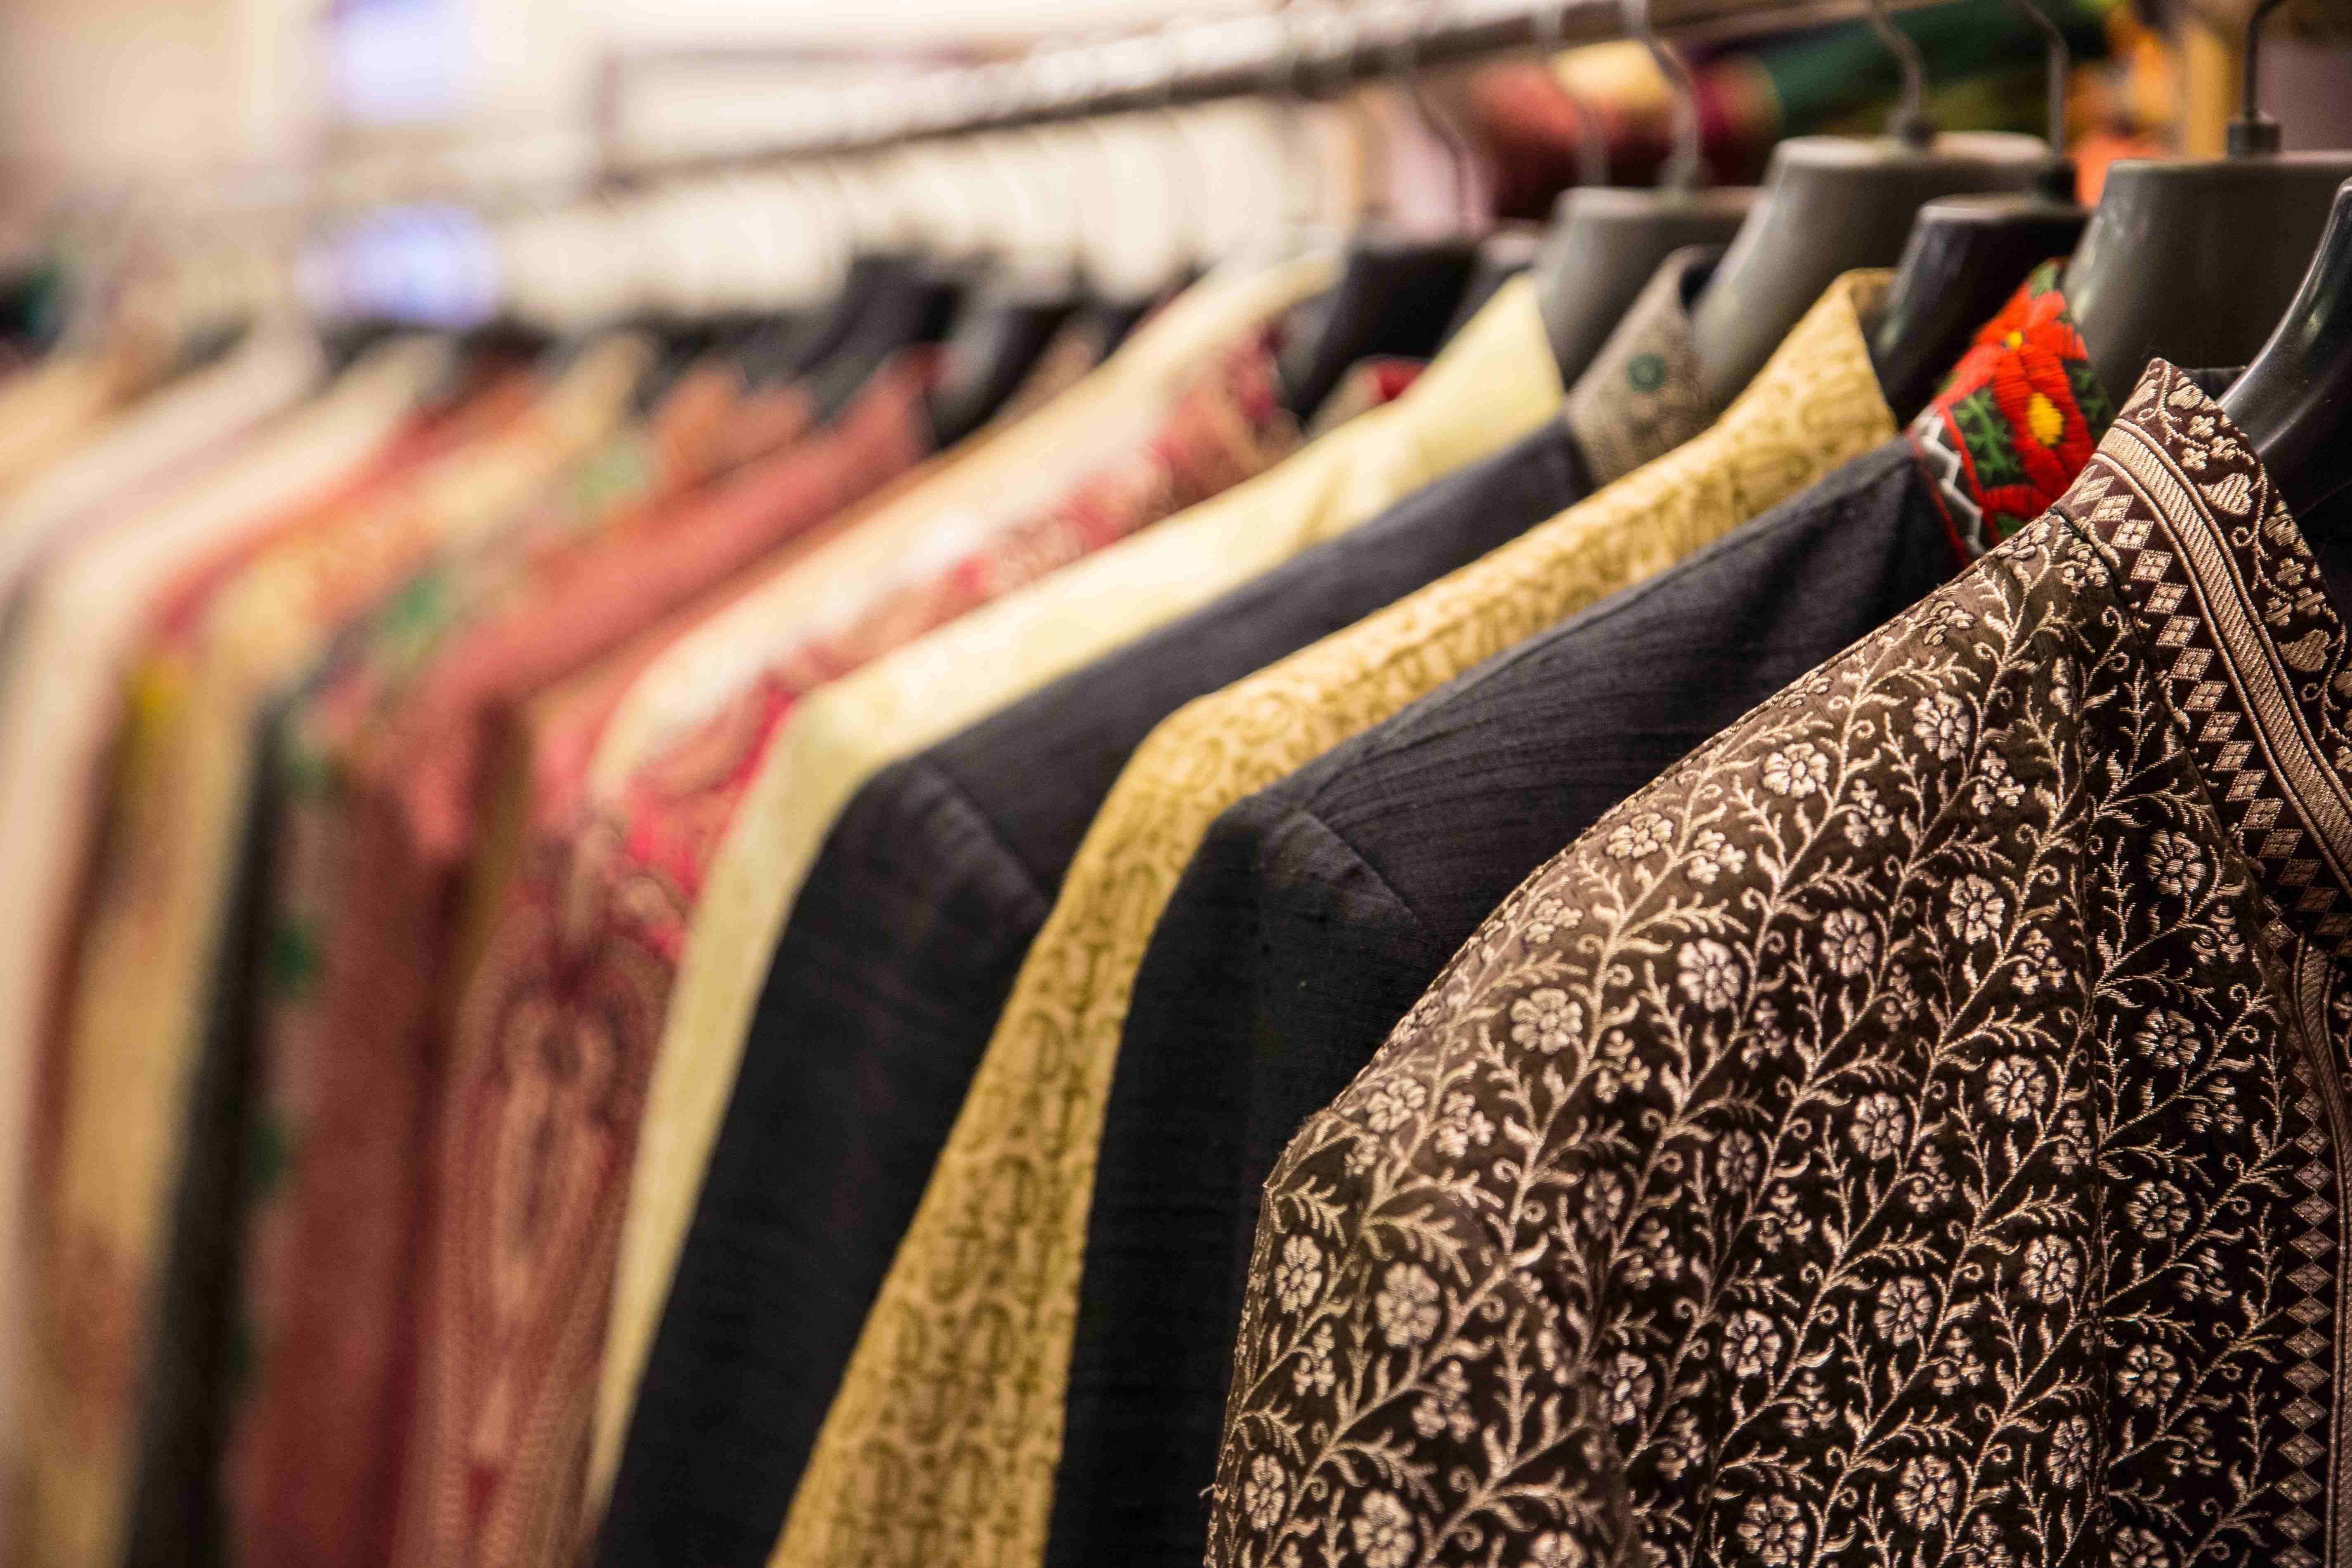
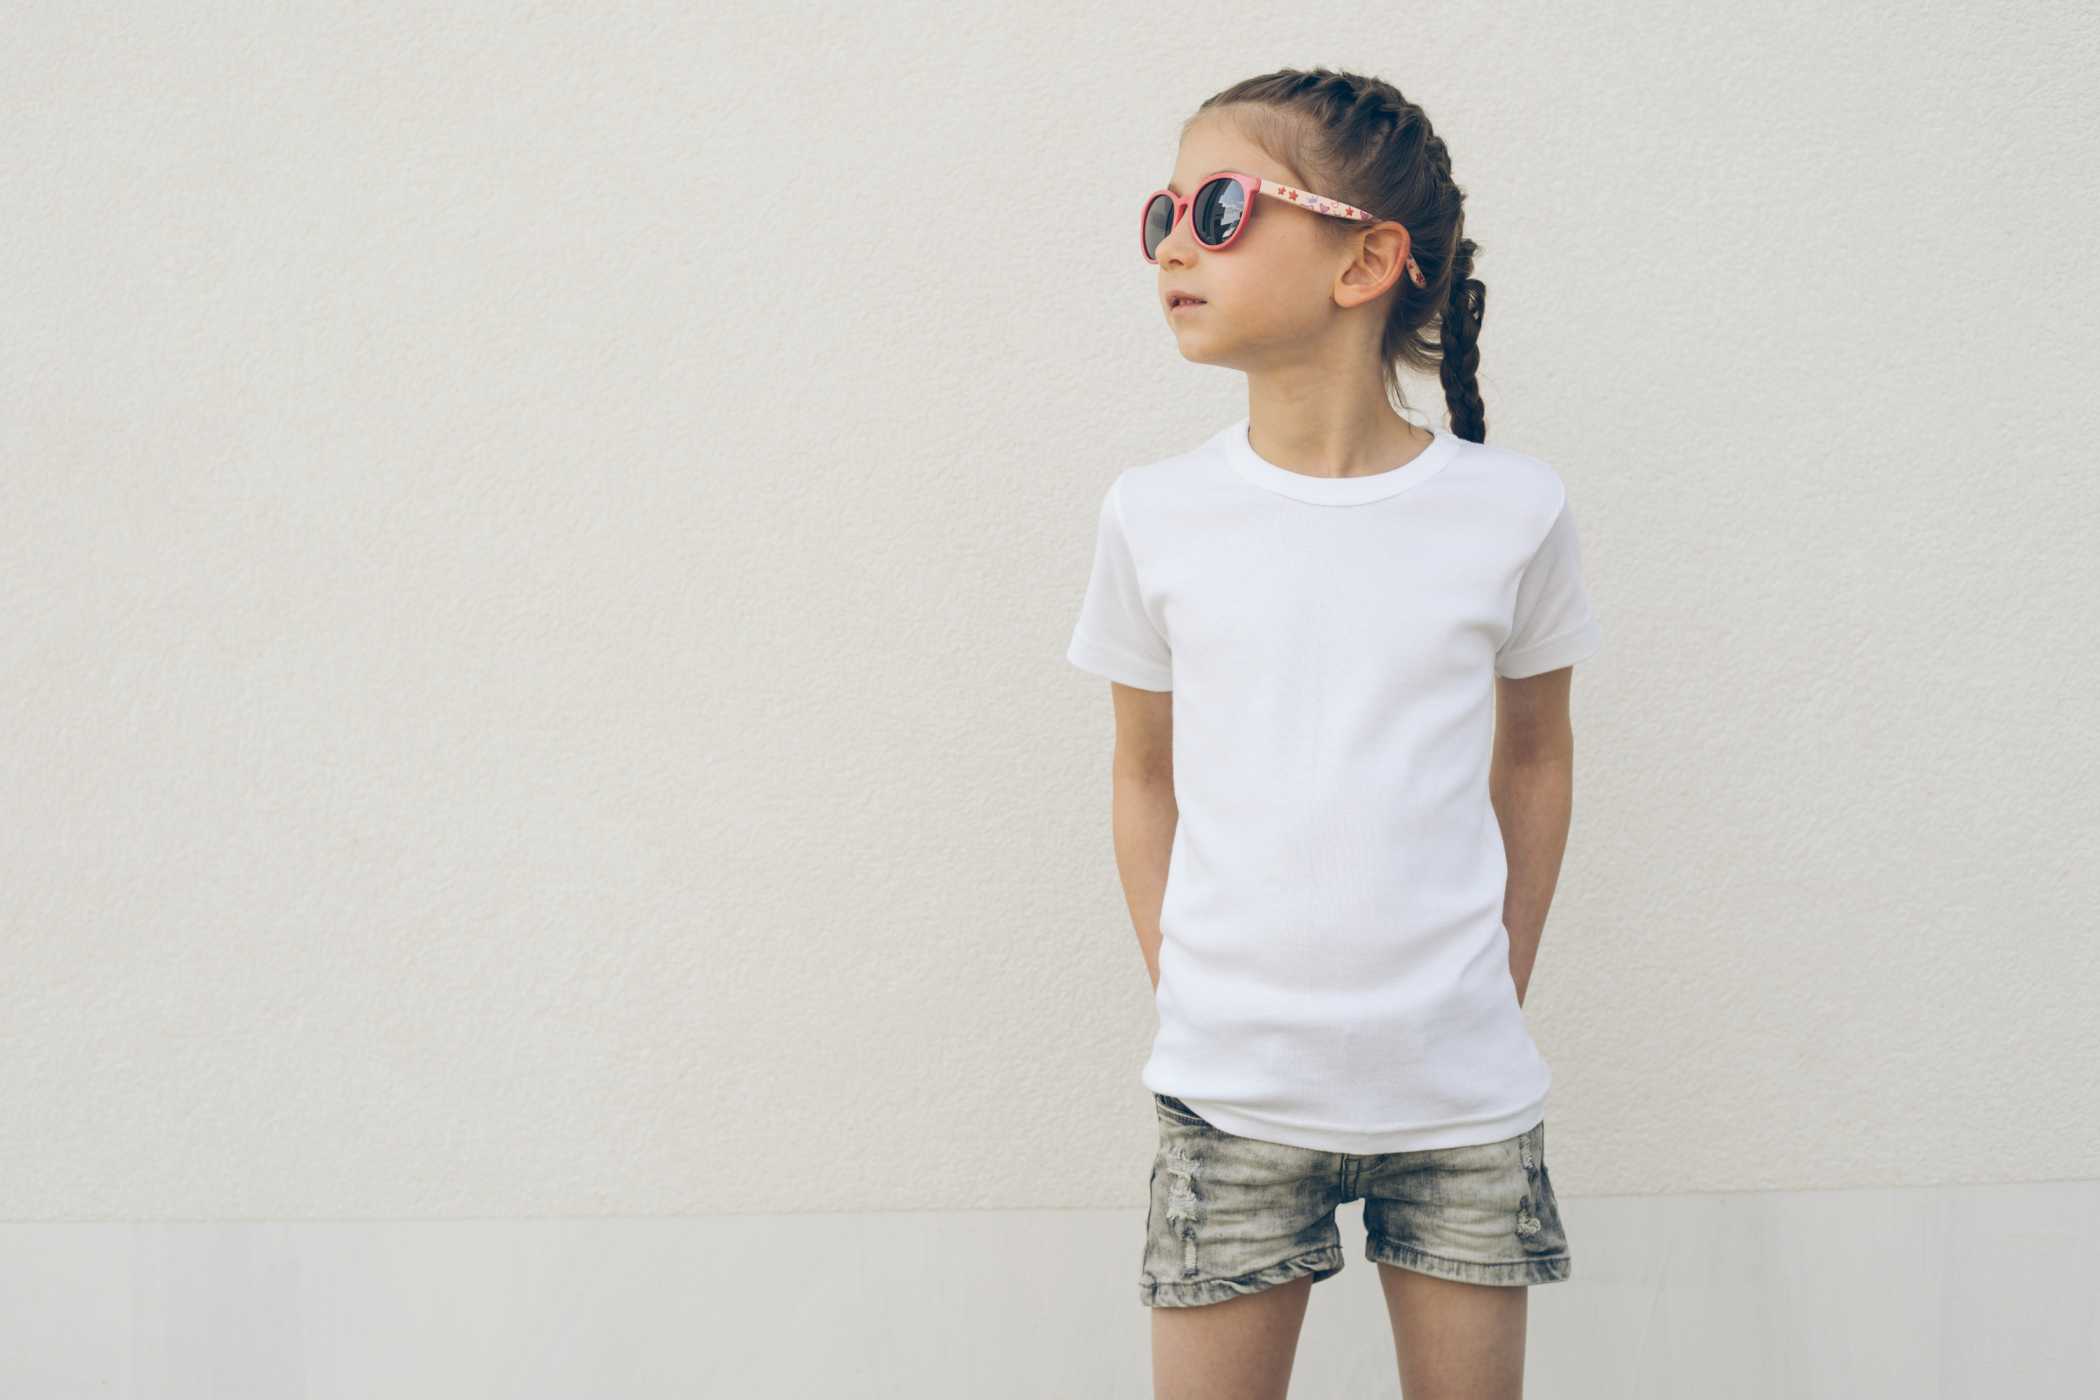
The best part of this popular dyeing technique is that it can be applied to almost all sorts of apparel, including cotton shirts, tops, sweatshirts, and even socks and shoes!
The tie-dyeing techniques go with all types of fabric items, like cotton, linen and silk. But, if you want the assurance to get the best result, make sure you are using 100% natural fibre in the fabric. Cotton is the most used fabric item for tie-dye across the world.
- Dye
There are many options available for all-purpose dyes, which you can use for tie-dye projects. But, the best type of dye is fibre reactive dye, also known as Procion MX dye. It is longer-lasting, brighter, and more accessible to apply than other dyes. The fibre reactive dye goes well with all garment types, but primarily it works best with natural fibres such as cotton and linen.
Popular Tie-Dyeing Techniques With Folding Patterns
Tie-dye is an easy, DIY project where you need to know a few tricks to get the best result. Here, you are going to learn a few tie-dyeing techniques with folding patterns, such as the scrunching or crumpling processes. Here is the list of tie-dye techniques you'll learn below –
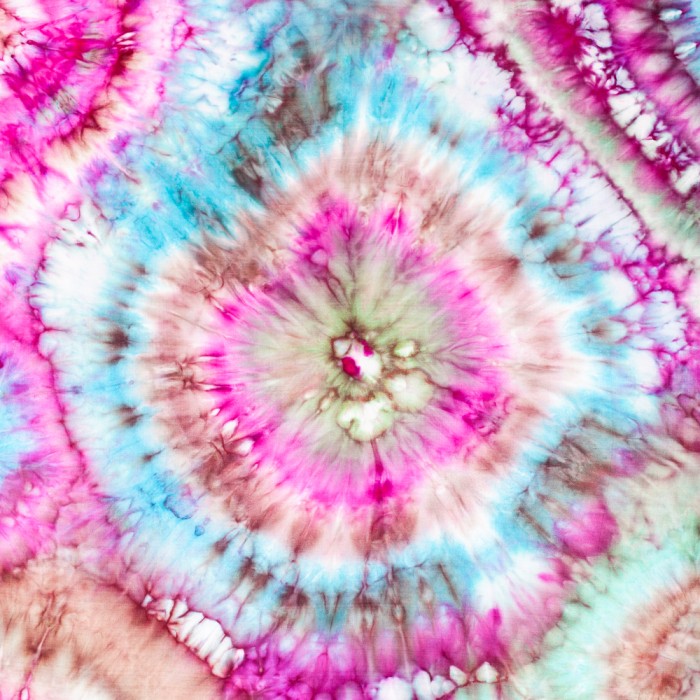
- Shibori
It is thought that shibori is the most ancient tie0dye form. Originated in Japan in the 8th century, this tie-dye technique involves the intricate shape of fabric folding and binding with clamps or rubber bands.
You can create any number of patterns with this technique. From simple to elaborate designs, painterly lines to grids or half-dot and concentric circle designs, the scope of the experiment is unlimited.
Although you can create your shibori tie-dye clothing with any colour, this technique is inseparably associated with indigo blues. The reason for such association is that natural indigo colour was extensively available in Japan.
- Following the shibori technique, you need to wrap the fabric over any object like rope, wood, or plastic tubes.
- Then, use thread, string or cord to tie the fabric to that particular object.
- Since the fabric's area is covered under the binding cord, it cannot be dyed.
- Once applying the dye to the rest of the garment, you get amazing overall patterns on the fabric surface.
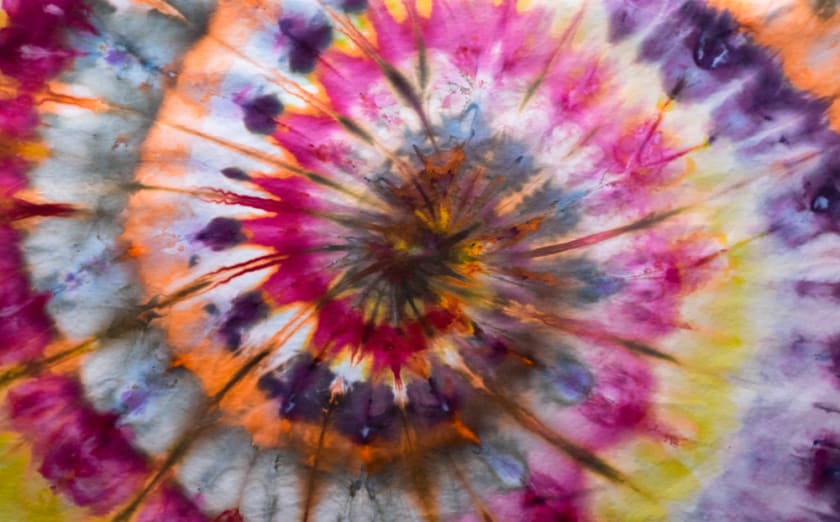
- Spirals
When someone hears the word 'tie-dye', the first thing they think of is spirals. One can easily relate these tie-dyeing techniques with those 'groovy' shirts from the late '60s.
The most generic form of the tie-dye technique is spiral. You need to twist your fabric into circles instead of neatly folding it. The result is amazing spiral designs.
You need to pinch a small section in your fabric's midpoint following this technique. Then, keep hold to that section while you need to twist the fabric clockwise.
While twisting the cloth, you should keep your fingers close to the table's surface as it ensures that the spirals lay flat.
- Tie the cloth with some rubber bands, crisscrossing them over the centre. The logic is simple – the tighter you bind the cloth, the more white areas are prominent.
- In each 'wedge' of the gridding patterns, apply a different colour of dye if you want to get a rainbow spiral design.
- For an asymmetrical design with less dye resistance, one can consider moving spirals off-centre and using lesser bands to bind them.
- Ombre/Dip-Dye
Here, you don't have to deal with any sort of folding of your fabric. Rather, you need to dip the fabric material in dye. Ombre or dip-dye is visible mainly in large, more dramatic textiles, such as the living room curtains. This fabulous and somehow easy DIY tie-dye technique can also be found in throw blankets.
- As the name suggests, this involves 'dipping' your fabric in the dye.
- As you let the cloth sit in the dye bath, the colour will slowly spread through the fabric in its way.
- This tie-dyeing technique creates the ombre effect.
- You can repeat the process with different colours of dye on the other end of the cloth for creating some versatile effect.
- Stripe/Accordion
Stripe is also one of the most popular tie-dyeing techniques, as you can often find shirts or tops divided into different 'stripes' dyed with different colours. Technically, stripes or accordion folds are a form of shibori, whereas its specific easy method makes it different from others.
- The process involves the folding of the fabric in various patterns.
- The folding part should be followed by the design you want to try on your fabric. It may include horizontal stripes, vertical stripes, and diagonal stripes.
- Then, fold your fabric with string or rubber bands to resist the spread of the dye.
- This results in the white stripes in your cloth.
- Bandhani/ Bandhej
This ancient tie-dye Indian technique symbolises the heritage of the desert state – Rajasthan. Bandhani is full of the most vivid hues, often seen in sarees. Here, small parts of fabrics are tied into a focal point to create small-shaped patterns.
The Indonesian form of this technique is identified as Plangi.
- In bandhani, you need to tie the fabric in small parts with impermeable thread in different designs and patterns.
- Make sure there would be a regular interval in between the ties.
- Then dye the fabric using solid colours. Since the dyed parts don't absorb the colour, they remain white or in the garment's original colour. Thus, it creates the pattern or forms a motif.
- Reverse
The reverse tie-dye technique is also a popular one where you can pull various colours in the fabric. Here, you don't have to add dyes to the fabric for creating any print or pattern.
- Reserve is a freehand technique followed by many apparel brands to create signature designs.
- These tie-dyeing techniques involve an amalgamation of pleating and scrunching where you don't have to use ties or rubber bands.
- Reserve tie-dye is like the regular tie-dye technique, except you can use bleach instead of dye to create a pattern.
- Polka Dot
In order to prepare a polka dot tie-dye garment, you need to follow these instructions –
- Take some plastic beads or dried beans and cut a few square pieces of plastic wraps.
- Make sure that the wraps should be at least four times larger than your chosen beans or beads.
- Now, place a bean/bead inside the cloth and plastic wrap over the cloth. Then wrap a thread or rubber band around your plastic and bean/bead area.
- Repeat the process throughout the cloth to get the desired number of dots.
Key Takeaway
So, which of these tie-dyeing techniques is your favourite? Whether you want to try out the DIY process or apply for your apparel business, you will always be in a win-win situation. Tie-dye clothes always stand out, especially during the Spring or Summer fashion.
Are you looking for the right platform for building your fashion/textile brand or sourcing materials for your garment business? Fashinza could be the one-stop fashion supply chain management platform that can look after the entire process from design to delivery.
Share this Story