10 Ways To Make An A-Line Skirt Pattern!


Fashion trends follow a cycle, and these old numbers make a comeback. Skirts and long dresses particularly are seeing a moment of popularity. This may be due to the boho-chic aesthetic or dark academia aesthetic. See runway models rocking skirts with asymmetrical patterns and Instagram profiles with cutesy A-line skirts patterns in pastels. Whatever may be the reason for the skirt's popularity, we are on board with it.
In this post, we will discuss 10 ways to design an A-line skirt.
1. The standard A-line
First, let us learn how to draft a simple midi-length A-line skirt.
Step1: Measurement.
Start with measuring the waist. Whatever the number, double it and add 3 more inches for seam allowance. The measurements can vary depending on the fabric.
The general shape of an A-line skirt is a trapezoid, i.e., smaller at the top and wider at the bottom.
Decide the length, and then mark the fabric.
Step 2: Draft
Cut the A-line skirt pattern according to the markings. Front and back pieces separately.
Step 3: Sewing the pieces
Join the front and back skirt pieces together.
Stitch the side seams of the skirt by keeping the front and back piece's right sides together. There must be 7 inches left unstitched to install an invisible zipper.
Turn it over to the correct side.
Step 4: The waistband
Keep the waistband piece right side down on the right side up the skirt, on top of the waistline of the skirt. A 1/4 inch seam allowance is used to bring the top edge together.
Step 5: Zipper
Put the invisible zipper on.
The invisible zipper should measure 11 inches in length. Stitch in place using a basting stitch. Do the same for the opposing side.
Step 6: Finish up the waist
Fold the waistbands top-down. Sew the waistband together along with the seam allowance. Now turn the waistband inside out, and the waistband is almost done.
And that’s it.
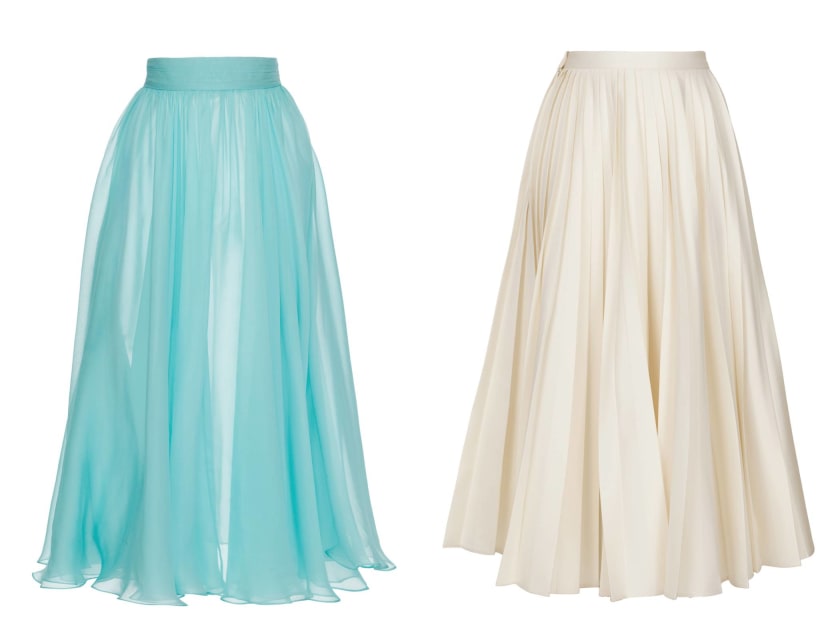
2. Super flared A-line skirt pattern

Now that a simple A-line is drafted, modifications to the pattern can be made for different skirt styles. A flare a-line skirt pattern will need more fabric.
Step 1: Measurement
Take a piece of cloth with a width of 44 inches and a length of 2 meters. Fold it in half. We're going to cut the waist in a circular motion. The diameter of the circle will be the waist measurement.
Calculate the circumference of the waist area using the formula –
A-B = waist measure / 3.14.
Step 2: Cut the pattern
Decide on the skirt's length. Subtract the width of the waistband from the total.
Draw an arc from the waistline to the top of the head. For precision, make a mark every 3-4 inches and then unite the dots to get the exact measurement.
Step 3: Zipper
Keep the right sides of the skirt piece on the inside. 7 inches from the top edge, make a mark. Install the zipper here. Use basting stitches here.
Step 4: Baby hem
For circular skirts with flare, only baby hems will suffice.
Turn the hem edge 1/4 inch and stitch it in place very near to the edge (1/8 inch). With small sharp scissors, cut away the additional seam allowance.
Step 5: Waistband
Take a measurement around the top edge of the skirt. Let's call that measurement A. To this, add 1 inch for the hook projection and 1 inch for seam allowance. For the waistline, cut this length fabric piece with a width of 3.5 inches.
Fold the waistband fabric in half lengthwise and stitch the short edges on both sides using a 1/2 inch seam allowance to prepare the waistband.
Step 6:
Attach waistband and hook.
3. The slit A-line pattern

Step 1
Draft a simple A-Line skirt but add 2-3 inches to the bottom hem.
Step 2
Before installing a zipper, add a slit that goes 5-7 inches above the knee.
Step 3
Install zipper and make sure the slit isn’t stretched.
4. The mini skirt

What is more iconic than 90s mini skirts with a bodycon graphic tee? Mini skirts are now like a uniform for K-pop artists and find them on every Y2K graphic.
A mini skirt is more than a shorter version of a longer skirt.
Step 1
For a fitted mini skirt, the measurements matter the most. The waist and bottom hem are pretty similar in measurement. Start with the basic pattern and shorten the length.
Step 2
Depending on the fabric, add an elastic waistband or even make it high-waisted.
Step 3
Most mini skirts tighten the waist. Do this after the skirt is made by adding folding in ¼ inch fabric on the waistline.
5. The Pocket-friendly skirt

By pocket friendly, we mean pockets are essential! Designers have now realized how important pockets are crucial in women’s clothing.
To add a pocket to an A-line skirt pattern, follow these steps
Step 1: Trace pocket pattern
Download a pocket pattern or just trace an existing pocket.
Step 2: Mark
The opening of the pocket should be above the hip bones. Try on the skirt. Mark the spot where pockets should be with pins.
Place the skirt on the table and fold the side seams toward the center, matching the armhole to ensure the pockets are symmetrical. Make sure the placements on both sides are even.
Step 3: Add the pocket
Undo the stitching on the side seam side seams.
Attach the pocket pieces to the side seam with a little seam allowance of around 14". With the pocket open, press the seams flat. Begin stitching up the side seam.
6. Asymmetrical Skirt
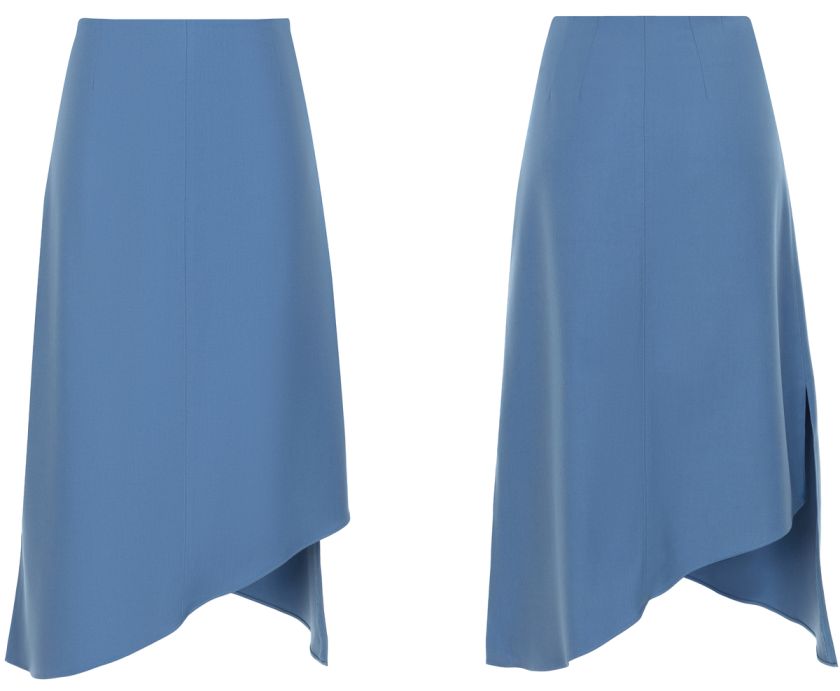
This skirt pattern is avant-garde and for the people who love dark aesthetics.
Step 1
For this A-line pattern, modify the pattern used for the flared skirt. Start with a flared pattern.
Step 2
Once the pattern is drafted, go ahead and cut the bottom hem. Cut it in a zigzag manner or make it longer at the bottom and shorter in the front.
7. Pleated A-line Skirt
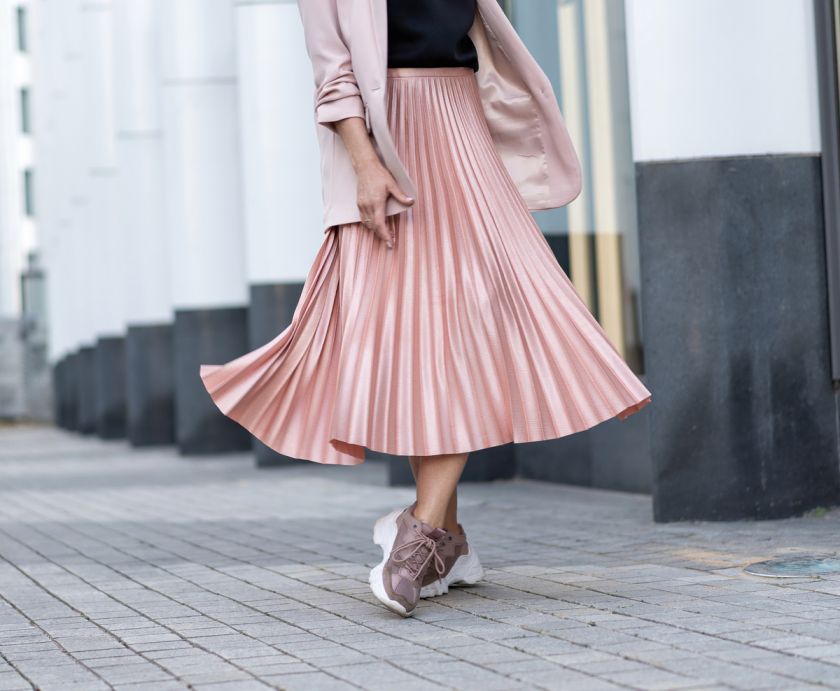
A pleated look for the school girl-esque aesthetic
Step 1
On a flared A-line skirt pattern, make pleats with a fork. Or a scale. Double the waist measurement before stitching.
Step 2
Do not add a waistband, as the pleated hem will serve as one.
8. Wrap Around A-line Skirt

Possibly, the easiest A-line skirt pattern.
Step 1
Cut out the desired length.
Step 2
Measure out the waist and double it. For wrap-around patterns, add a belt hook and a waist tie.
9. Buttoned Down A-line Skirt
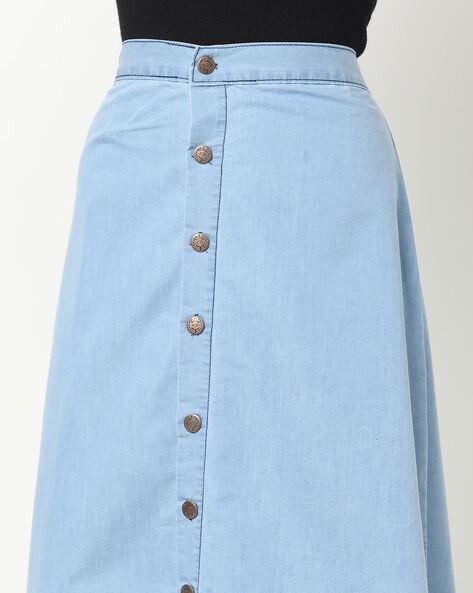
Another popular A-line skirt pattern is button down the front. These don’t have to be functional. Buttons can be aesthetic embellishments.
Step 1
If the buttons are functional, then cut the front piece in half. Add 3 inches to the front piece.
Step 2
Make holes for the button on the right side and strict the buttons, evenly spaced on the left edge of the piece.
Step 3
Button the skirt from the front all the way to the waist line.
10. Layered A-line Skirt

To make the A-line a little poofy, simply add layers. Add layers for a dramatic look—layer a solid skirt with a netted fabric. Add a holographic fabric or an iridescent one.
Step 1
Draft an A-line skirt pattern and make as many layers as needed to achieve the billowy look. The length can differ.
Step 2
Stitch the layer on the waistline of the skirt, keeping a ½” space. It is like adding one skirt on top of another.
These are some ways to spice up a regular A-Line skirt pattern.
Conclusion
We hope these ideas of drafting an A-line skirt were helpful. It can be tedious to source materials for a clothing line. We help designers connect with suppliers that can provide everything needed to make fabulous clothes. Fashion designers who are looking for statement pieces can link up with Fashinza to source materials. Connect with us to learn more.
Share this Story